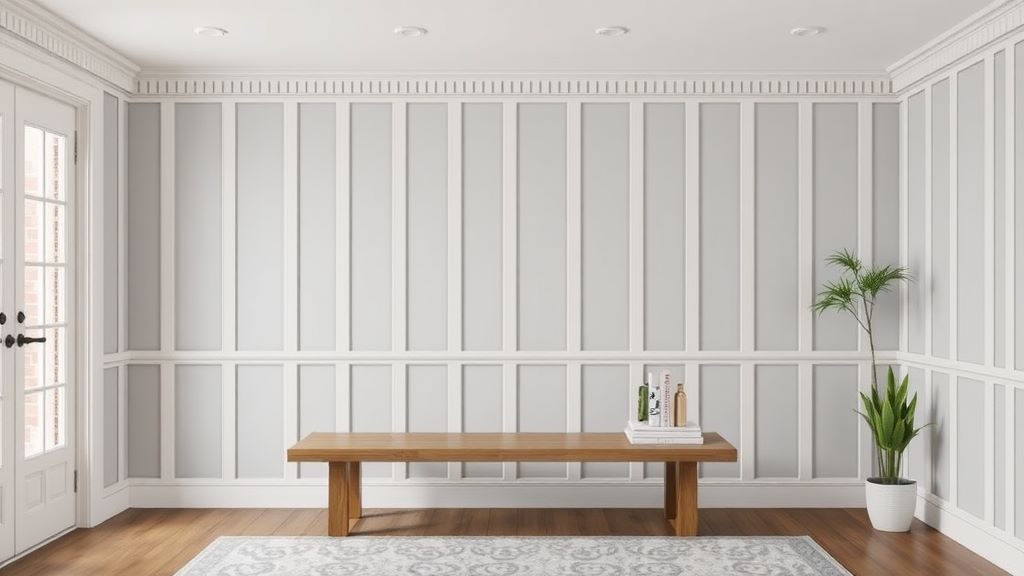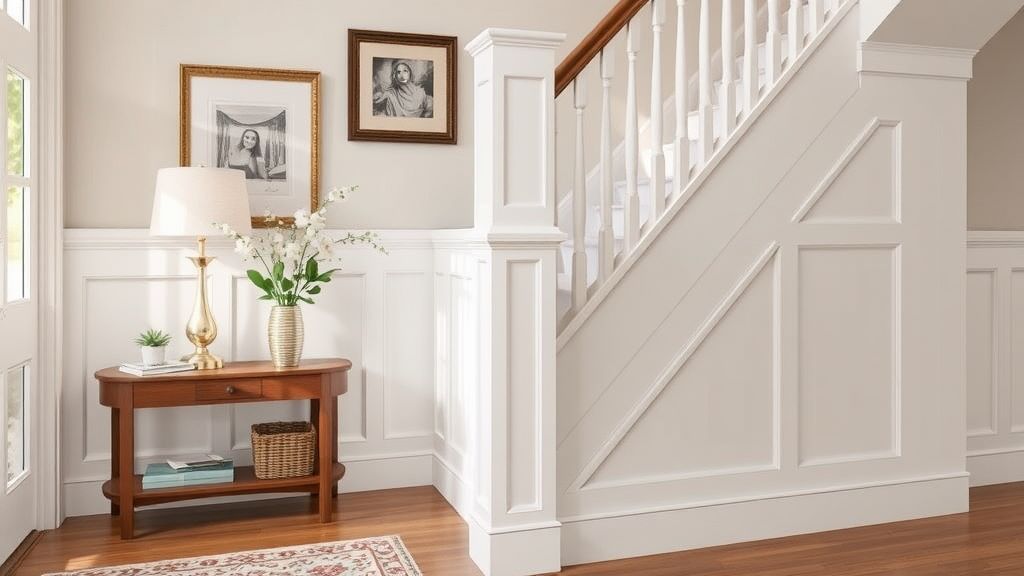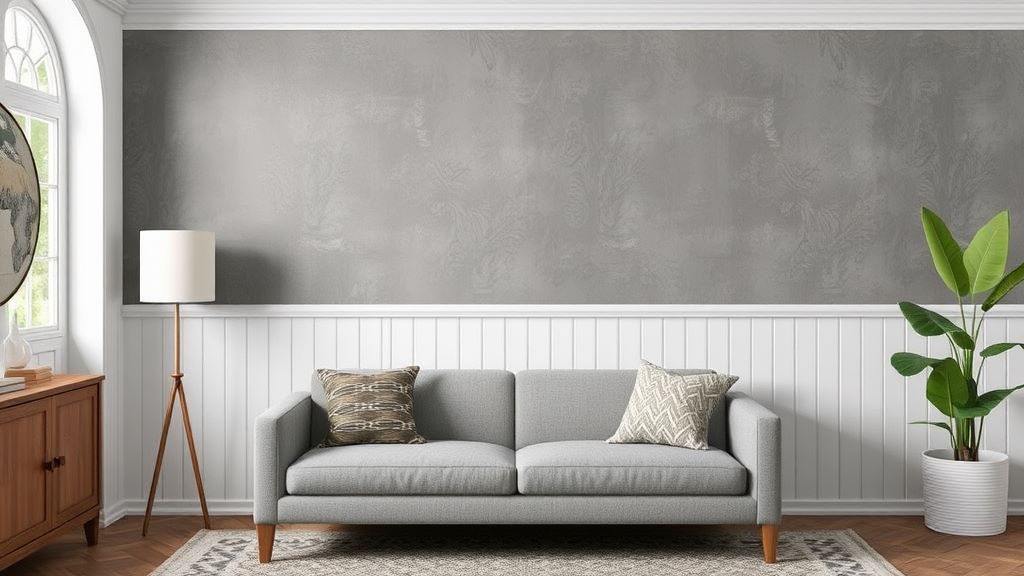
Beadboard trim offers a subtle yet impactful way to add character to your home. This versatile design element can be used in various applications throughout your space, enhancing both the visual appeal and value of your property. Let’s explore 15 creative beadboard trim ideas that will help you achieve a cohesive, polished look in your home.
1. Window and Door Frames
Framing your windows and doors with beadboard trim creates a finished, elegant look. This simple addition can transform plain openings into architectural features. It’s an easy way to elevate your home’s exterior and interior appearance.
2. Wainscoting in Hallways

Adding beadboard wainscoting to your hallways creates visual interest in often overlooked spaces. It protects your walls from scuffs and adds a touch of traditional charm. This technique can make narrow hallways feel wider and more inviting.
3. Bathroom Accent Walls
Beadboard trim in bathrooms adds a spa-like feel. Use it as an accent wall behind the vanity or around the tub. It’s a great way to transform a bathroom into a stylish retreat without a complete renovation.
4. Kitchen Island Base
Dress up your kitchen island with beadboard trim on the base. This adds texture and interest to a large, plain surface. It’s a perfect complement to both modern and traditional kitchen remodeling designs.
5. Lower Cabinet Upgrade
Refresh your kitchen cabinets by adding beadboard trim to the lower ones. This creates a farmhouse or coastal look without the expense of new cabinetry. It pairs well with various kitchen cabinet styles.
6. Ceiling Detail
Use beadboard on your ceiling for a unique twist. This works especially well in rooms with high ceilings, adding visual interest overhead. It can make a space feel cozier and more intimate.
7. Bedroom Headboard
Create a charming headboard by installing beadboard trim on the wall behind your bed. This DIY project adds character to your bedroom without taking up floor space. It’s a great way to design a cottagecore bedroom.
8. Staircase Risers
Add beadboard trim to your staircase risers for an unexpected touch of style. This small detail can make a big impact in your entryway or hallway. It pairs well with various baluster designs for staircases.
9. Built-in Bookshelf Backing
Line the back of built-in bookshelves with beadboard trim. This adds depth and interest to your shelving units. It’s a great way to elevate your home office or living room.
10. Fireplace Surround
Use beadboard trim to create a unique fireplace surround. This adds texture and charm to your focal point. It’s a fantastic way to update an older fireplace without a complete overhaul.
11. Mudroom Lockers
In your mudroom, use beadboard trim to create individual locker spaces. This not only looks great but also helps organize your entryway. It’s a practical and stylish solution for family homes.
12. Porch Ceiling
Add beadboard trim to your porch ceiling for a classic, welcoming look. This traditional touch can transform your front porch into an inviting outdoor living space.
13. Laundry Room Accent
Spruce up your laundry room with beadboard trim on walls or cabinets. This simple addition can make chore time more enjoyable in a stylish space. It’s a great way to add character to a utilitarian room.
14. Powder Room Walls
In a small powder room, use beadboard trim on all walls for a cohesive look. This can make the space feel larger and more put-together. It’s an easy way to create a cozy, cottage-like atmosphere.
15. Dining Room Chair Rail
Install beadboard trim as a chair rail in your dining room. This adds a traditional touch and protects your walls from chair marks. It’s a great way to blend different design elements in your space.
Choosing the Right Beadboard Trim

When selecting beadboard trim, consider the following factors:
- Material: Choose between wood, MDF, or PVC based on your budget and the room’s moisture levels.
- Width: Wider beadboard creates a more traditional look, while narrower styles feel more modern.
- Color: White is classic, but don’t be afraid to experiment with painted or stained finishes.
- Installation method: Decide between individual boards or paneled sheets for easier installation.
Preparing for Installation
Before installing beadboard trim, proper preparation is key:
- Measure your space carefully to determine how much material you’ll need.
- Remove any existing trim or molding in the area.
- Clean and sand the surface to ensure good adhesion.
- Use a level to mark guidelines for installation.
Installation Tips
Follow these tips for a successful beadboard trim installation:
- Use a nail gun for faster, more precise installation.
- Apply construction adhesive for added security.
- Caulk seams and gaps for a polished look.
- Paint or finish after installation for a seamless appearance.
Maintaining Your Beadboard Trim
To keep your beadboard trim looking great:
- Dust regularly with a soft cloth or vacuum attachment.
- Clean with mild soap and water as needed.
- Touch up paint or finish as necessary.
- Check for and repair any damage promptly.
Combining Beadboard with Other Design Elements
Beadboard trim pairs well with various design elements:
- Crown molding for a formal look
- Shiplap for a farmhouse feel
- Wallpaper above wainscoting for added interest
- Stone accent walls for texture contrast
DIY vs Professional Installation
Consider these factors when deciding between DIY and professional installation:
- Your skill level and available time
- The complexity of the project
- Tools required
- Budget constraints
Sometimes, professional help is worth the investment, especially for complex installations or large projects.

Conclusion
Incorporating beadboard trim into your home’s design is a fantastic way to add character and value. From framing windows to creating unique headboards, the possibilities are endless. With careful planning and execution, you can transform your space with this versatile design element. Whether you choose to DIY or hire a professional, beadboard trim is sure to elevate your home’s details and create a cohesive, polished look throughout your space.


