Installing Foxtail Oak waterproof laminate flooring can transform your space, providing a durable and stylish surface that mimics the beauty of natural wood. To ensure a smooth and professional-looking installation, having the right tools at your disposal is crucial. This comprehensive guide will walk you through the top 15 tools you’ll need to tackle this project with confidence, whether you’re revamping your living room, upgrading your kitchen, or enhancing an outdoor living area.
1. Tape Measure
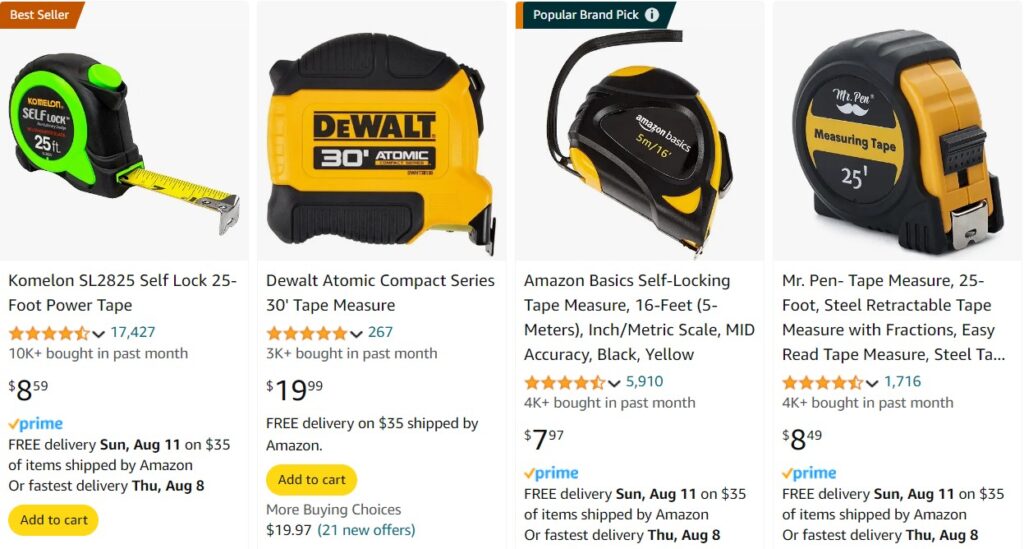
A reliable tape measure is the foundation of any successful flooring installation. Accurate measurements are essential for calculating the amount of flooring needed, planning your layout, and making precise cuts. Opt for a tape measure with clear markings and a sturdy locking mechanism to ensure consistency throughout your project.
2. Pencil and Notepad
[amazon box=”B09K5FLT1F”] [/amazon]While these may seem basic, a good pencil and notepad are indispensable for marking measurements, sketching layout plans, and keeping track of calculations. Choose a carpenter’s pencil for its durability and ability to make visible marks on various surfaces.
3. Utility Knife
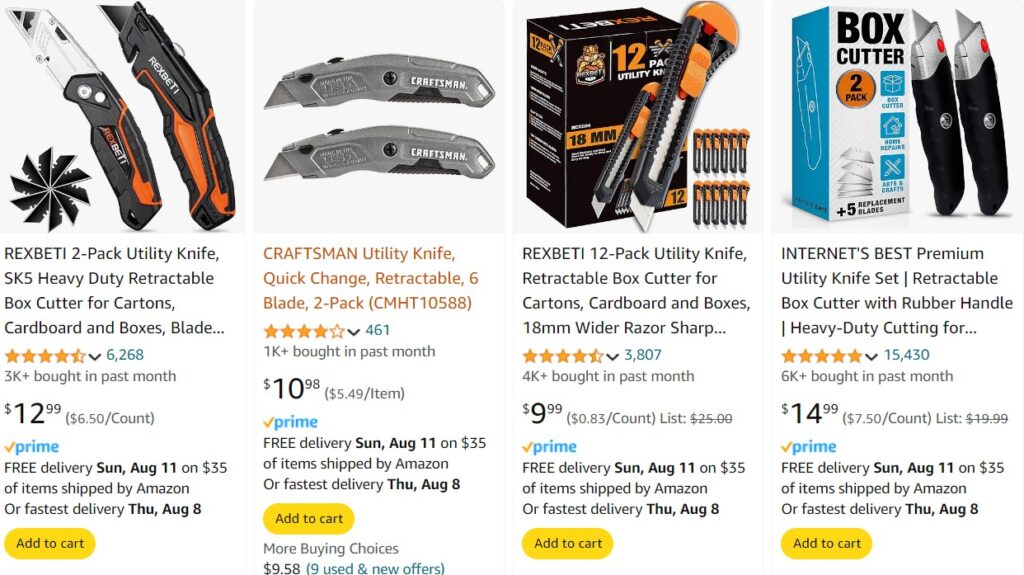
A sharp utility knife is crucial for scoring and cutting laminate planks, trimming underlayment, and making precise adjustments. Always keep spare blades on hand to maintain a sharp edge throughout the installation process.
4. Tapping Block
A tapping block is specifically designed for laminate flooring installation. It helps you gently tap planks together without damaging the locking mechanism or the edges of the flooring. This tool is essential for achieving tight seams and a professional finish.
5. Pull Bar
[amazon box=”B0991NS2MR”] [/amazon]Also known as a pry bar, this tool is invaluable when installing the last row of flooring or in tight spaces where using a tapping block isn’t feasible. It allows you to pull planks together tightly, ensuring a snug fit against walls and other obstacles.
6. Rubber Mallet
A rubber mallet is used in conjunction with the tapping block to secure planks without damaging them. The soft rubber head allows you to apply force gently, reducing the risk of marring or cracking the laminate surface.
7. Spacers
Plastic spacers are crucial for maintaining the correct expansion gap around the perimeter of the room. This gap allows the flooring to expand and contract with temperature and humidity changes, preventing buckling or warping.
8. Saw
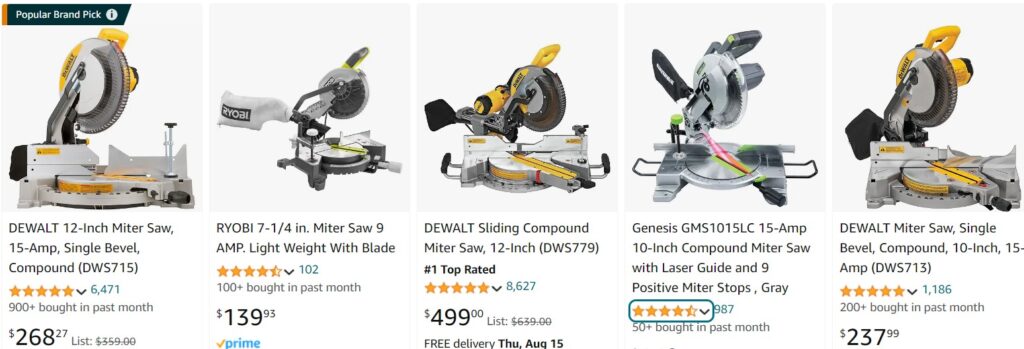
While the type of saw may vary depending on your preference and experience, a saw is essential for cutting laminate planks to fit your space. Options include:
- Jigsaw: Ideal for curved cuts and notches.
- Circular saw: Great for straight cuts and larger projects.
- Miter saw: Perfect for precise angle cuts and trimming planks to length.
Choose a saw with a fine-toothed blade designed for laminate to minimize chipping and ensure clean cuts.
9. Safety Equipment
Never underestimate the importance of safety gear. Essential items include:
- Safety glasses to protect your eyes from dust and debris.
- Knee pads to cushion your knees during long periods of kneeling.
- Work gloves to protect your hands when handling tools and materials.
- Dust mask to prevent inhalation of fine particles.
10. Underlayment
While not a tool per se, underlayment is crucial for a successful laminate flooring installation. It provides a smooth base, reduces noise, and can offer additional moisture protection. When selecting underlayment, consider the specific needs of your space, especially if you’re installing in areas prone to moisture, such as basements or outdoor living areas. For guidance on moisture-prone areas, check out our article on waterproof flooring for screened porch applications.
11. Level
[amazon box=”B081D5WTMH”] [/amazon]A good level is essential for ensuring your subfloor is even before installation and for checking the levelness of your laminate as you install. Both a long level (4-6 feet) and a smaller handheld level can be useful for different aspects of the project.
12. Moisture Meter
Before installing Foxtail Oak waterproof laminate, it’s crucial to check the moisture content of your subfloor. A moisture meter helps you determine if additional moisture barriers are necessary, especially in basements or areas with high humidity. This step is particularly important when considering waterproof flooring laminate vs vinyl options for moisture-prone areas.
13. Oscillating Multi-Tool
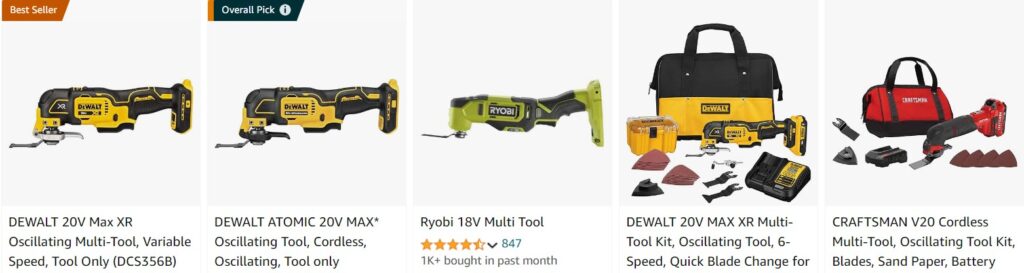
An oscillating multi-tool is incredibly versatile and can be a lifesaver during laminate installation. It’s perfect for making precise cuts around door frames, pipes, and other obstacles. With the right attachment, it can also help remove old flooring or trim excess underlayment.
14. Vacuum Cleaner
[amazon box=”B09V5NPHP3″] [/amazon]Keeping your work area clean is essential for a smooth installation process. A good vacuum cleaner helps remove dust, debris, and small particles that can interfere with the locking mechanism of your laminate planks. It’s also crucial for maintaining a clean subfloor before laying underlayment.
15. Plastic Sheeting
If you’re installing Foxtail Oak waterproof laminate in areas with potential moisture issues, plastic sheeting can serve as an additional moisture barrier. It’s particularly useful in basement installations or when laying flooring over concrete subfloors. For more information on moisture control, explore our article on crawl space moisture barrier solutions.
Preparing for Success
Having the right tools at your disposal is half the battle when it comes to installing Foxtail Oak waterproof laminate flooring. Each tool plays a crucial role in ensuring a smooth, professional-looking installation that will stand the test of time. Remember, the key to a successful DIY flooring project lies not just in having the right tools, but in knowing how to use them effectively.
Before you begin your installation, take the time to familiarize yourself with each tool and practice using them if necessary. This preparation will help you work more efficiently and achieve better results. Additionally, consider the specific needs of your space. For example, if you’re installing laminate in a bathroom or kitchen, you might want to explore waterproof flooring thickness options to ensure maximum protection against moisture.
By arming yourself with these essential tools and the knowledge to use them, you’re setting yourself up for a successful Foxtail Oak laminate installation. Whether you’re upgrading your indoor living spaces or creating an outdoor bedroom design that seamlessly blends with nature, these tools will help you achieve the beautiful, durable flooring you envision.
Remember, proper installation is key to maximizing the longevity and performance of your Foxtail Oak waterproof laminate flooring. Take your time, follow manufacturer guidelines, and don’t hesitate to seek professional advice if you encounter challenges along the way. With the right tools and approach, you’ll soon be enjoying the beauty and durability of your new Foxtail Oak laminate flooring.