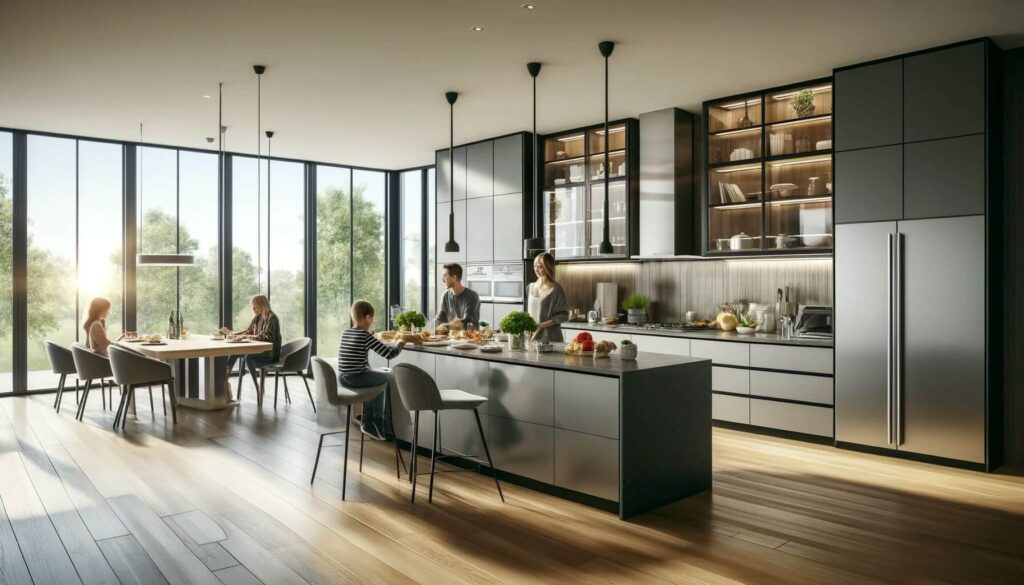
Revamping your kitchen doesn’t mean you have to spend a fortune. With the right approach, transforming this space can be both affordable and impactful. It’s about making smart, cost-effective changes that breathe new life into your kitchen.
The Power of Creativity and DIY Skills
Creativity is your best tool. Think outside the box. Use colors, textures, and materials in new ways. DIY skills are invaluable. They allow you to tackle projects hands-on, adding a personal touch that’s both satisfying and unique.
The Role of Smart Planning
Planning is crucial. It helps you prioritize changes that offer the biggest impact without draining your budget. It’s about knowing where to spend and where to save. This balance ensures your kitchen makeover is both stunning and sustainable.
Together, creativity, DIY skills, and smart planning make it possible to revamp your kitchen beautifully and affordably. Let’s explore how you can transform your kitchen into a space you love, without breaking the bank.
Budget-Friendly Updates for a Big Impact

Transforming your kitchen doesn’t require an entire overhaul. Small, thoughtful updates can make a significant difference. Here’s how to achieve a big impact with a few budget-friendly changes.
1. Paint Cabinets
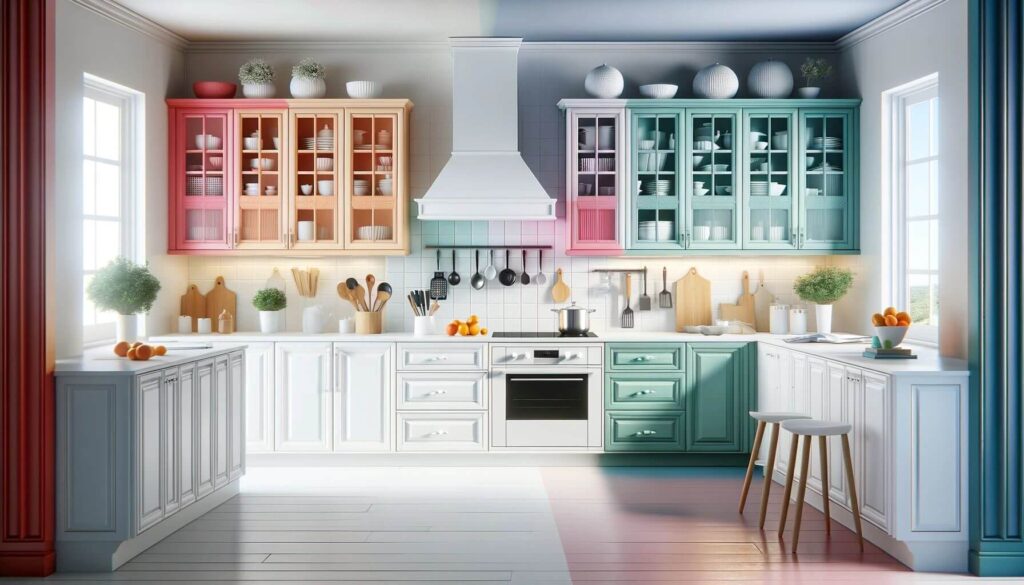
Importance of Color Choice
The color of your cabinets sets the tone for your kitchen. Opt for shades that brighten the space or bring warmth. Light colors make small kitchens feel larger, while bold hues can add depth and character.
Paint Quality Matters
Not all paints are created equal. Use a durable, cabinet-specific paint that can handle the wear and tear of kitchen life. High-quality paint ensures a smooth finish that lasts.
2. Update Hardware
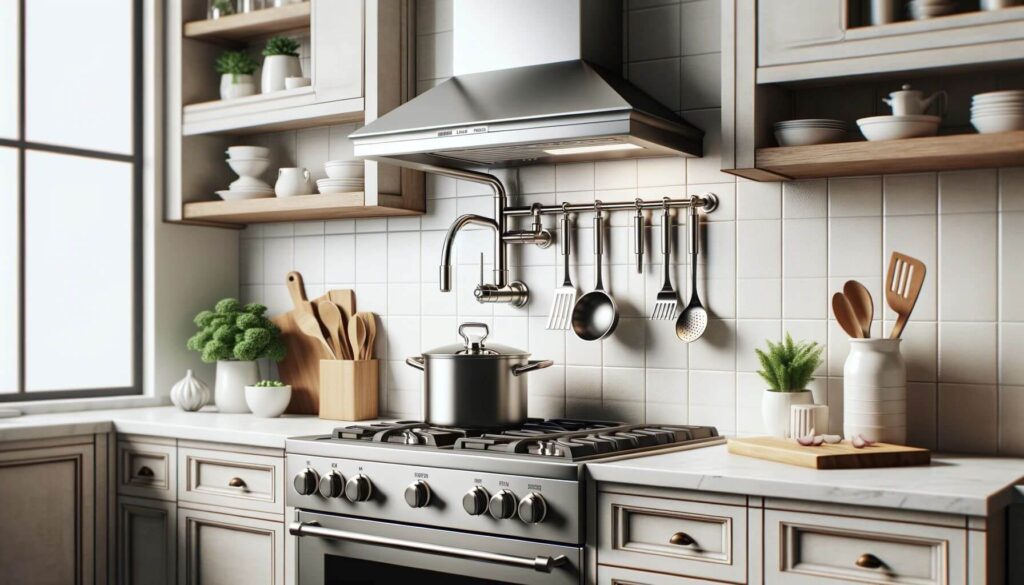
Complement Your Kitchen’s Theme
Hardware is like jewelry for your kitchen. Choose knobs and pulls that align with your kitchen’s style. Modern, classic, or vintage—make sure the hardware complements your cabinetry and decor.
Function and Form
Consider the functionality. Ergonomic designs are as important as aesthetics. Ensure your new hardware is comfortable to use daily.
3. Install Peel-and-Stick Backsplash
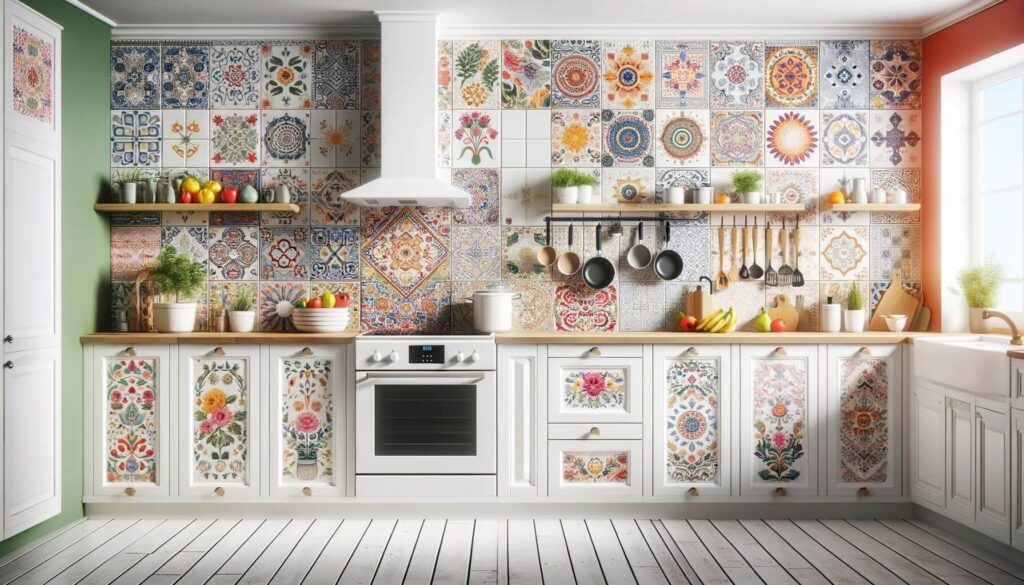
Step-by-Step Guide
- Prepare the Wall: Ensure the wall is clean and dry. Measure the area to estimate how many tiles you’ll need.
- Plan Your Design: Lay out the tiles before sticking them to the wall. It helps you visualize the final look and make adjustments as needed.
- Apply the Tiles: Peel off the backing and carefully place each tile. Use a utility knife to trim edges for a perfect fit.
Design Ideas to Revamp Your Kitchen
Peel-and-stick tiles come in various styles. Choose a design that enhances your kitchen’s aesthetic. From classic subway tiles to Moroccan-inspired patterns, the options are endless. Mix and match colors and textures for a unique backsplash.
These simple updates can dramatically transform the look and feel of your kitchen, proving that even on a tight budget, big changes are within reach.
Lighting and Space Optimization

Enhancing your kitchen’s lighting and optimizing space can dramatically improve its functionality and appearance. Here’s how to do it without overspending.
4. Under-Cabinet Lighting
DIY Installation Tips
- Choose the Right Type: LED strip lights are popular for under-cabinet lighting. They’re energy-efficient and have a long lifespan.
- Measure and Plan: Before purchasing, measure the length of your cabinets to ensure you buy the correct amount of lighting.
- Easy Installation: Many LED strips come with adhesive backing. Clean the mounting surface thoroughly, peel off the backing, and stick the lights under the cabinets.
- Wiring: Opt for battery-operated lights if you prefer to avoid electrical work. Otherwise, plug-in options may require minimal drilling to hide wires.
5. Declutter Countertops
Strategies for Maximizing Space
- Use Vertical Space: Install shelves or hanging racks to store items usually placed on countertops.
- Organize with Purpose: Keep only frequently used items on countertops. Store the rest in cabinets or drawers.
- Multipurpose Items: Invest in appliances that serve multiple functions to reduce clutter.
Maintaining an Organized Look
- Daily Habits: Make it a habit to clear the countertops every day. A clean space is more inviting and easier to use.
- Storage Containers: Use attractive containers to group similar items together. This approach keeps things organized and adds to the decor.
6. Revamp Your Kitchen With Smart Storage
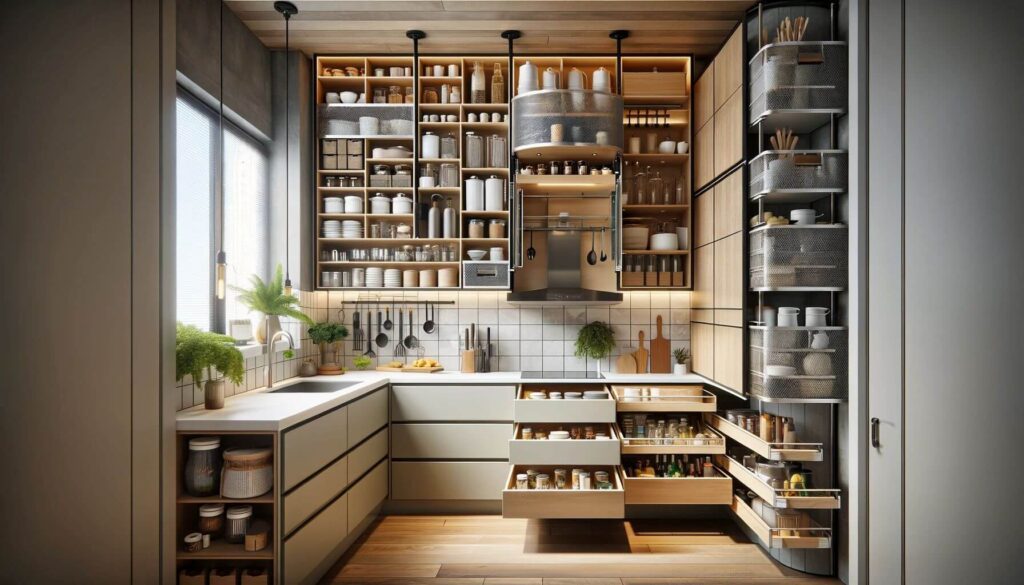
Examples for Various Kitchen Items
- Spice Storage: Magnetic spice racks or drawer inserts can keep spices organized and accessible.
- Pot and Pan Hangers: Ceiling or wall-mounted racks free up cabinet space and make it easy to find what you need.
- Under-Sink Organizers: Maximize this tricky space with pull-out organizers for cleaning supplies.
- Divider Trays for Utensils: Drawer dividers help keep utensils and small gadgets neat.
- Pull-Out Shelves: Install in lower cabinets to make it easier to reach items in the back.
By focusing on lighting and space optimization, you can create a kitchen that not only looks great but is highly functional. These improvements are not only cost-effective but also significantly enhance the usability and ambiance of your kitchen.
Cosmetic Enhancements of Your Kitchen on a Budget
Cosmetic updates can significantly alter your kitchen’s look and feel without requiring a substantial budget. Here’s how to give your kitchen a facelift with a few simple changes.
7. Refresh the Sink Faucet
Considerations When Choosing a New Faucet
- Style and Function: Select a faucet that matches your kitchen’s aesthetic while offering the functionality you need. Consider features like sprayers and pull-down hoses.
- Compatibility: Ensure the new faucet fits your sink’s existing setup. Check the number of holes and spacing.
- Finish: Choose a finish that complements other metal finishes in your kitchen, such as cabinet hardware and appliances. Popular options include stainless steel, chrome, and brushed nickel.
- Water Efficiency: Look for faucets with water-saving features to reduce your water usage and save on bills.
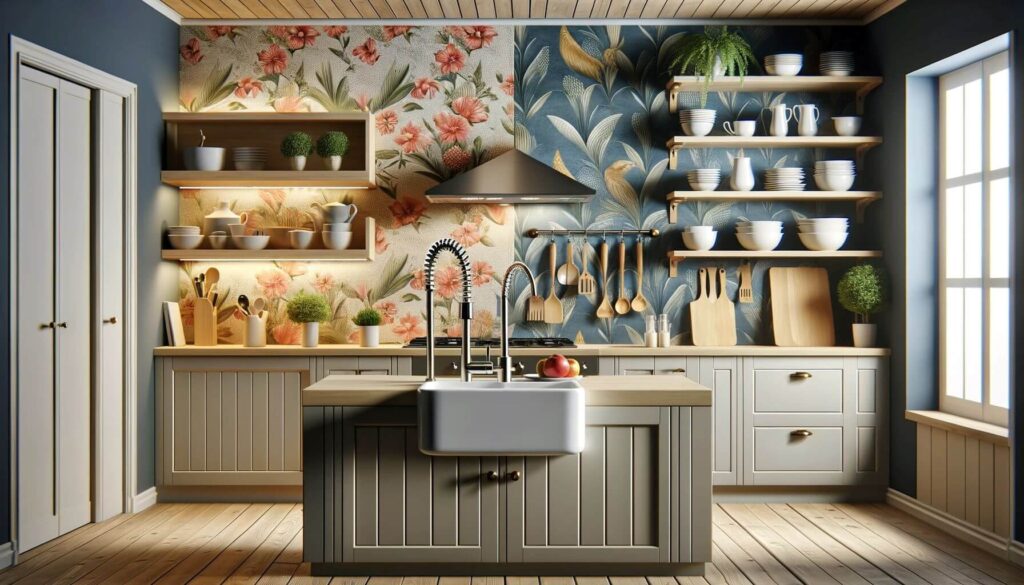
8. Apply Removable Wallpaper
Application Tips
- Surface Preparation: Start with a clean, smooth wall. Remove any grease or dust to ensure the wallpaper adheres properly.
- Measure and Cut: Measure your space and cut the wallpaper to size, allowing a little extra for adjustment.
- Apply Carefully: Begin at the top, slowly peeling the backing as you smooth the wallpaper down to avoid air bubbles.
Pattern Ideas to Revamp Your Kitchen
- Bold Patterns: Use striking patterns to create a feature wall or add visual interest to a small area.
- Textures: Faux brick or wood patterns can add depth and warmth to your kitchen’s decor.
- Bright Colors: Introduce vibrant colors to energize the space, especially if your kitchen primarily features neutral tones.
9. Open Shelving and Cabinet Updates
Choosing Between Open Shelving and Replacing Cabinet Doors
- Visual Space: Open shelving can make a kitchen feel larger and more open, but requires organization and regular tidying to maintain a neat appearance.
- Cost Efficiency: Replacing cabinet doors can be more costly than installing open shelves. Consider your budget and the desired look.
- Functionality: Evaluate your storage needs. Open shelving is great for items used daily, while new cabinet doors can conceal clutter and provide a clean look.
- Style: Open shelves offer a more casual, accessible style, while new cabinet doors can range from modern to traditional, significantly impacting your kitchen’s overall aesthetic.
Cosmetic enhancements like updating the sink faucet, applying removable wallpaper, and choosing between open shelving and cabinet updates can transform your kitchen with minimal effort and expense. These changes not only refresh the space but also reflect your personal style and functional needs.
Revamp Your Kitchen Flooring and Windows
Flooring and windows play a significant role in defining the atmosphere of your kitchen. With some creativity, these elements can be updated to make your kitchen feel brand new.
10. Paint the Floor
Preparation and Painting Techniques
- Clean and Sand: Begin with a thorough cleaning of the floor. Sanding is crucial for removing old finishes and ensuring the new paint adheres well.
- Primer: Apply a primer suited for your floor type. This step is essential for longevity and durability of the paint job.
- Choose the Right Paint: Use floor paint designed for high traffic areas. It should be durable and resistant to wear and tear.
- Apply Paint: For best results, use a roller for even coverage. Consider using painter’s tape to create patterns or designs for added visual interest.
11. Update Window Treatments
Enhancing Natural Light and Visual Interest
- Sheer Curtains: Sheer fabrics let in light while providing privacy, perfect for kitchens that receive plenty of sunlight.
- Roman Shades: Offer both style and function. They can be adjusted to control the amount of light and are available in various patterns and materials.
- Valances: Add a decorative touch without blocking light. Choose a revamping design that complements your kitchen’s decor for a cohesive look.
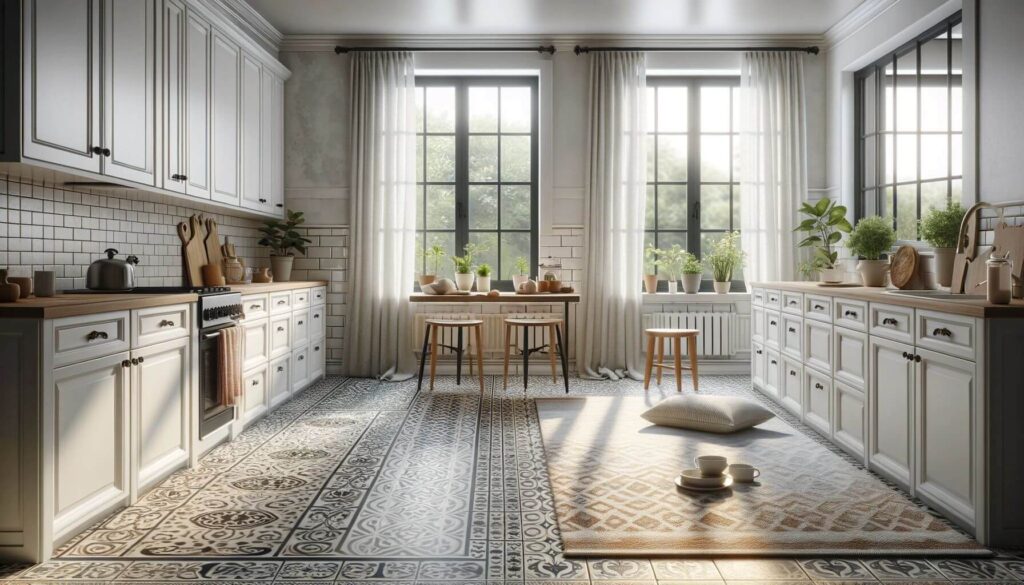
12. Add a Rug
Selection for Style and Functionality
- Material Matters: Look for washable rugs designed for high-traffic areas. Materials like cotton or synthetic fibers are ideal for easy cleaning.
- Size and Shape: Choose a rug that fits the size of your kitchen. Runners are great for narrow spaces, while larger rugs can define dining areas or centerpieces.
- Design: Rugs can add color, pattern, and texture to your kitchen. Opt for designs that match your kitchen’s theme or offer a pop of contrast.
Revamping your kitchen’s flooring and windows doesn’t have to be expensive or complicated. Painting the floor, refreshing window treatments, and adding a stylish rug can significantly enhance the look and feel of your kitchen, making it a more pleasant and inviting space.
Personal Touches and Functional Upgrades
Adding personal touches and functional upgrades can elevate your kitchen from a mere cooking space to the heart of your home. Here’s how you can infuse your kitchen with character and practicality.
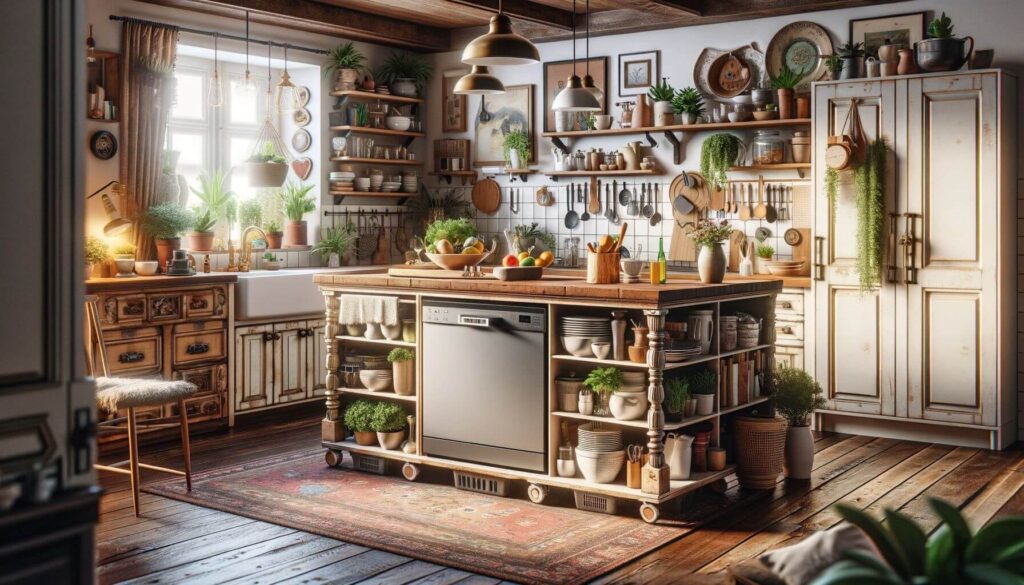
13. DIY Kitchen Island
Creating or Repurposing Furniture for an Island
- Find the Right Base: Look for a sturdy piece of furniture that can serve as the base. An old dresser, table, or even a bookshelf can work.
- Modify as Needed: Depending on your choice, you might need to adjust the height or add a larger top surface. Use a piece of butcher block or a custom-cut piece of countertop.
- Add Storage: Install hooks, shelves, or rails to the sides for extra storage. Consider adding wheels for mobility.
- Finish with Paint or Stain: Match the island to your kitchen cabinets or opt for a contrasting color for a statement piece.
14. New Dishwasher Front
Updating Your Dishwasher Appearance
- Contact Paper: Use stainless steel or patterned contact paper to give your dishwasher a new look. It’s an easy and reversible update.
- Magnetic Panels: Some dishwashers are compatible with interchangeable magnetic fronts. Check if this is an option for your model.
- Custom Panel: For a seamless look, you can create a custom panel that matches your cabinetry. This option might require some DIY skills or professional help.
15. Decorative and Practical Additions
Incorporating Plants, Artwork, and Unique Storage Solutions
- Plants: Add greenery to your kitchen with herbs in pots or low-maintenance indoor plants. They improve air quality and add a splash of color.
- Artwork: Display your favorite pieces of art on the walls. Choose food-themed pieces or abstract art that complements your kitchen’s color scheme.
- Unique Storage Solutions: Think outside the traditional storage options. Use magnetic knife strips, hanging pot racks, or even repurpose old items to create unique storage spaces.
Integrating personal touches and functional upgrades into your kitchen not only enhances its aesthetic appeal but also its usability. By following these tips, you can create a space that reflects your style and meets your needs, making your kitchen a more enjoyable and efficient place to cook, gather, and entertain.
Revamp Your Kitchen With Advanced DIY Projects

For those looking to tackle more involved projects, advanced DIY tasks like creating concrete countertops or installing decorative molding can significantly enhance the look and feel of your kitchen. Here’s how to approach these projects.
16. DIY Concrete Countertops
Detailed Guide on Creating Concrete Countertops
- Materials and Preparation: Gather materials such as concrete mix, a mixer, molds (you can build these from melamine), sealant, and any desired colorants. Ensure your base cabinets can support the weight of concrete.
- Build the Molds: Construct molds to the exact dimensions of your countertop space. Remember to account for sink openings or any other necessary cutouts.
- Mix and Pour Concrete: Follow the concrete mix instructions carefully. Add colorant at this stage if desired. Pour the concrete into the molds, vibrating the sides to remove air bubbles.
- Cure and Seal: Allow the concrete to cure as per the mix instructions, then carefully remove the molds. Sand any rough edges. Seal the countertops with a food-safe sealant to protect against stains and water damage.
- Install: With help, position the countertops onto your base cabinets. Apply additional sealant around sinks or appliances.
17. Decorative Molding Will Revamp Your Kitchen
Adding Character with Crown Molding or Chair Rails
- Measure and Plan: Measure your kitchen’s perimeter to determine how much molding you’ll need. Plan where the molding will go and mark the walls accordingly.
- Choose Your Style: Select molding that fits the style of your kitchen. Crown molding adds elegance, while chair rails can introduce a more traditional or formal look.
- Cut and Install: Use a miter saw to cut the molding at the appropriate angles. For crown molding, you’ll typically cut at 45-degree angles. Use adhesive and nails to secure the molding to the walls.
- Finishing Touches: Fill any gaps or nail holes with wood filler, then sand smooth once dry. Finish by painting or staining the molding to match or complement your kitchen decor.
Tackling advanced DIY projects like concrete countertops and decorative molding requires more time and effort but can provide a profound sense of accomplishment and a unique personal touch to your kitchen. These projects can elevate the overall design, adding value and character to your home.
Lighting and Appliance Makeovers

Refreshing your kitchen’s lighting and appliances can have a dramatic effect on the space’s functionality and aesthetics. Here’s how to give these elements a modern makeover.
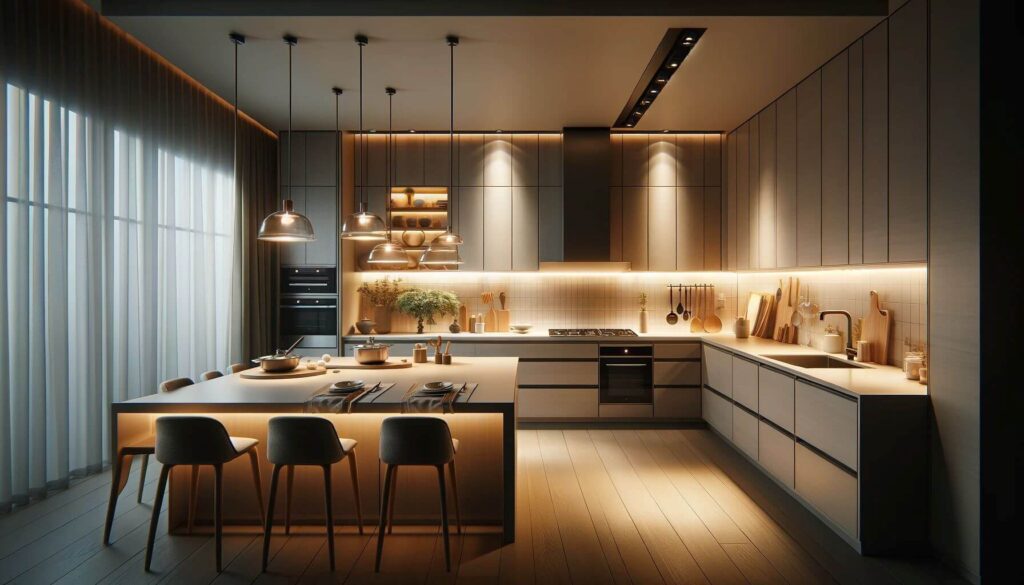
18. Swap Out Light Fixtures
Selecting and Installing New Light Fixtures
- Choose the Right Style: Select fixtures that complement your kitchen’s design. Whether modern, industrial, or classic, the right lighting can elevate the room’s aesthetic.
- Consider the Function: Think about the type of lighting each area of your kitchen needs. Ambient lighting for overall brightness, task lighting for work areas, and accent lighting to highlight features.
- Installation Tips: Always turn off the power at the circuit breaker before starting. If you’re not experienced with electrical work, consider hiring a professional to ensure safety and proper installation.
19. Update Appliances with Paint
Techniques for Painting Appliances for a Fresh Look
- Choose Appliance-Specific Paint: Use paint specifically designed for appliances to ensure it adheres properly and stands up to heat and wear.
- Preparation is Key: Clean the appliance surface thoroughly to remove any grease or grime. Lightly sand if recommended by the paint manufacturer.
- Application: Apply the paint according to the manufacturer’s instructions. This might be with a spray can or a roller. Multiple thin coats are usually better than one thick coat.
- Curing Time: Allow plenty of time for the paint to dry and cure completely before using the appliance. This can vary but expect at least 24-48 hours.
Updating lighting and appliances doesn’t just change the look of your kitchen; it can also improve energy efficiency and functionality. By carefully selecting light fixtures and refreshing appliances with paint, you can achieve a significant transformation without the need for full replacements. These makeovers can be satisfying projects that enhance your kitchen’s design and your enjoyment of the space.
Transform Your Kitchen with Budget-Friendly Updates
Transforming your kitchen doesn’t require a massive budget or complete overhaul. As we’ve explored, numerous budget-friendly updates can significantly change the look and functionality of your kitchen. From painting cabinets and updating hardware to installing new light fixtures and applying appliance paint, each project offers the potential to refresh and personalize your space.
Embracing the DIY spirit is not just about saving money; it’s about creating a kitchen that truly reflects your personality and meets your needs. Whether it’s through a major project like DIY concrete countertops or smaller updates like adding decorative molding, each effort you make adds a layer of personal touch and pride to your home.
We encourage you to take these ideas as starting points and adapt them to fit your style and space. Kitchen renovations can be a rewarding experience, offering a unique opportunity to tailor your space precisely to your liking. With creativity, planning, and a bit of elbow grease, you can transform your kitchen into a space that’s both beautiful and functional, proving that a stunning kitchen makeover is achievable on any budget.
Remember, the most important aspect of any DIY project is to have fun and enjoy the process. Your kitchen is the heart of your home, and updating it should not only improve its appearance but also enhance your enjoyment of the space. So, gather your ideas, roll up your sleeves, and start creating the kitchen of your dreams, one budget-friendly update at a time.
FAQ
Q: How can I update my kitchen cabinets without replacing them?
A: Painting your cabinets and updating the hardware are great ways to refresh them without full replacement.
Q: What’s the most budget-friendly backsplash option?
A: Peel-and-stick tiles are cost-effective and easy to apply, making them a popular choice for budget kitchen renovations.
Q: Can I really paint a kitchen floor?
A: Yes, with the right preparation and paint, you can paint tile or wood floors for an affordable update.
Q: How can I make my small kitchen look bigger?
A: Use light colors, declutter countertops, and add under-cabinet lighting to make your kitchen appear larger.
Q: Is open shelving a good idea?
A: Open shelving can create an airy feel and make items more accessible, but it requires regular organization to keep it looking neat.
Q: How can I add more storage to my kitchen?
A: Utilize vertical space with open shelving, magnetic strips for knives, and hooks under cabinets for mugs.
Q: What’s an easy way to update my kitchen’s look?
A: Changing out light fixtures and window treatments can significantly impact your kitchen’s appearance without major renovations.
Q: Are DIY concrete countertops durable?
A: DIY concrete countertops are durable and cost-effective, but they require proper sealing and maintenance.
Q: Can adding a rug in the kitchen be practical?
A: Yes, using washable rugs can add style and comfort to your kitchen while being easy to clean.
Q: How can I refresh my kitchen appliances on a budget?
A: Painting appliances with appliance paint or updating them with new panels can refresh their look without the cost of replacement.